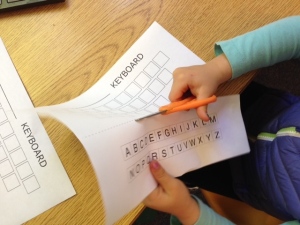
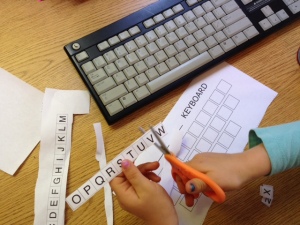
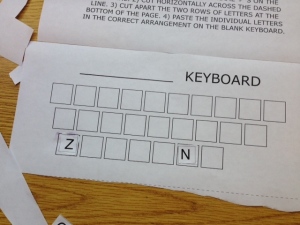
Montessori inspired my new Thirty Thursday centers, then my centers inspired some funky bracelets. Read on…
My husband and I went to a Guide to Montessori workshop at our boys’ school last week, where we learned more about the Montessori philosophy and specific activities for the Montessori classroom and home. I left feeling so happy about the environment our children are in, and very inspired for some new activities in my own classroom!
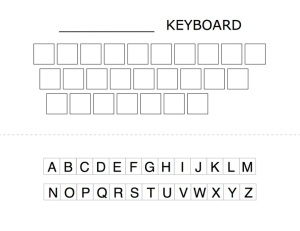
Every year I somehow seem to forget about the vast difference between kinders and first graders at the end of a school year versus a new batch of four- and five-year olds in September! I jumped in way over my head with the keyboard activity last week. Thanks to Montessori, I was reminded about the basics, and got some great tips for fine motor development activities which will aide in- my favorite- handwriting!
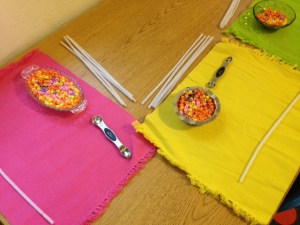
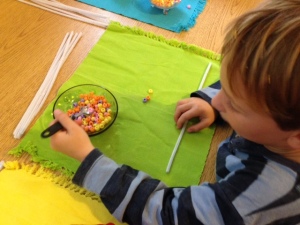
Center #1: Using teaspoons to scoop beads from fancy dishes to make various pattern bracelets (AB, ABC, etc.). Placemats to define own space and fine motor development for handwriting included!
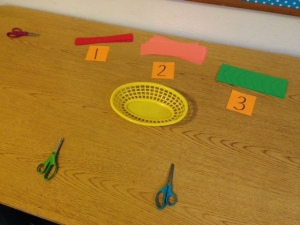
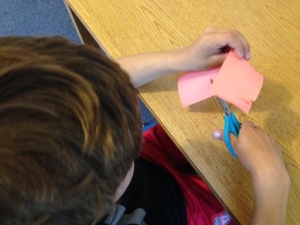
Center #2: Cutting a strip of paper into pieces, cutting fringe along an edge, and cutting on wavy lines (like trying to keep your car on Highway 9, we said).
After this activity, a student said, “I want to make a bracelet!”, so we got taping! This would be the inspiration for my own version, which you’ll be seeing soon…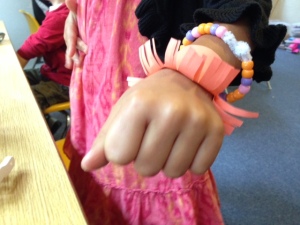
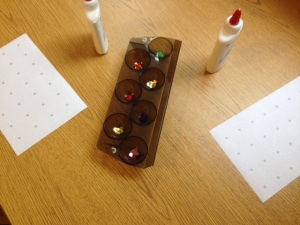
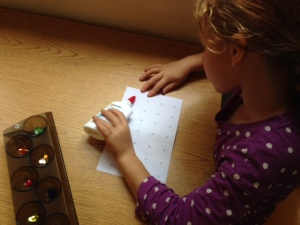
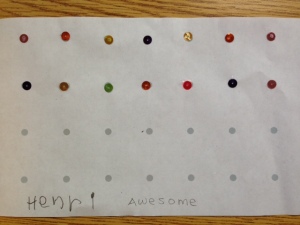
Center #3: Putting drops of glue on grey dots and adding a single sequin (taken from an ice cube tray) to each dot. Control, control, control! This. Was. SO. Fun. You can get my free Glue Dots download by clicking here. Or you could easily make one yourself. I’m planning on making dots in different designs (like hearts and stars) in the future.
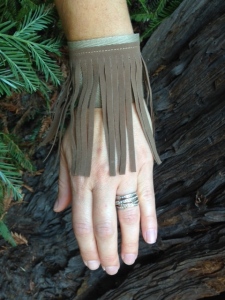
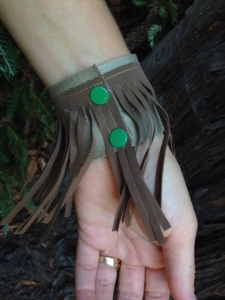
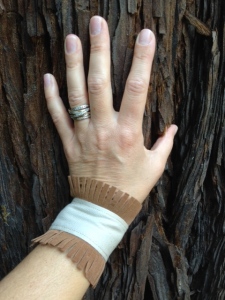
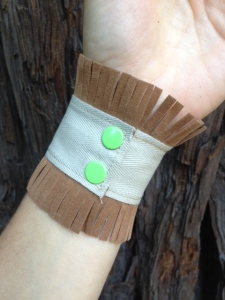
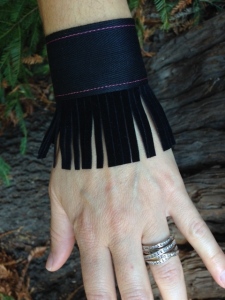
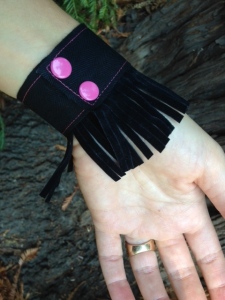
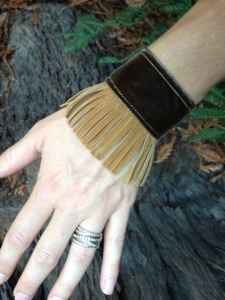
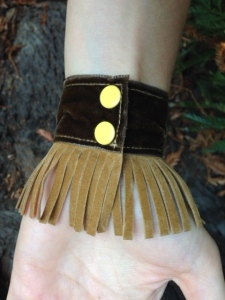
The next I took my boys to the fabric store to get creepy Halloween spider decorations. Then, with spiders in our cart, we took a detour to the ribbon section. Here’s what I came up with. I’m thinking of putting them on Etsy… just to see what happens.
Oh, and HAPPY FALL 🙂

